
There is art to making sushi. You know, the good stuff with rice and fish. (Oops, I’m salivating.)
I’m not talking about that today. I’m talking about a different type of artistry. This is the fine art of getting a tiny amount of powdered or liquid sample into a tin capsule, and rolling and crushing it up into a little tiny cube.
The tiny tin cube is important, because the cube contains the sample as it drops into a furnace at 980° C and the tin helps intensify the burning.
But how do you do it? Those little cubes are less than one millimeter on a side. And the capsules, to start, are not even half an inch long. And, yeah, you can’t touch anything with your fingers, lest you contaminate the samples. You have to use tweezers. It’s a little like laparoscopic surgery.
We call it sushi-rolling because 1) rolling is involved and 2) sushi is more fun than tin (it’s all about mental attitude).
Step one. Select a capsule.
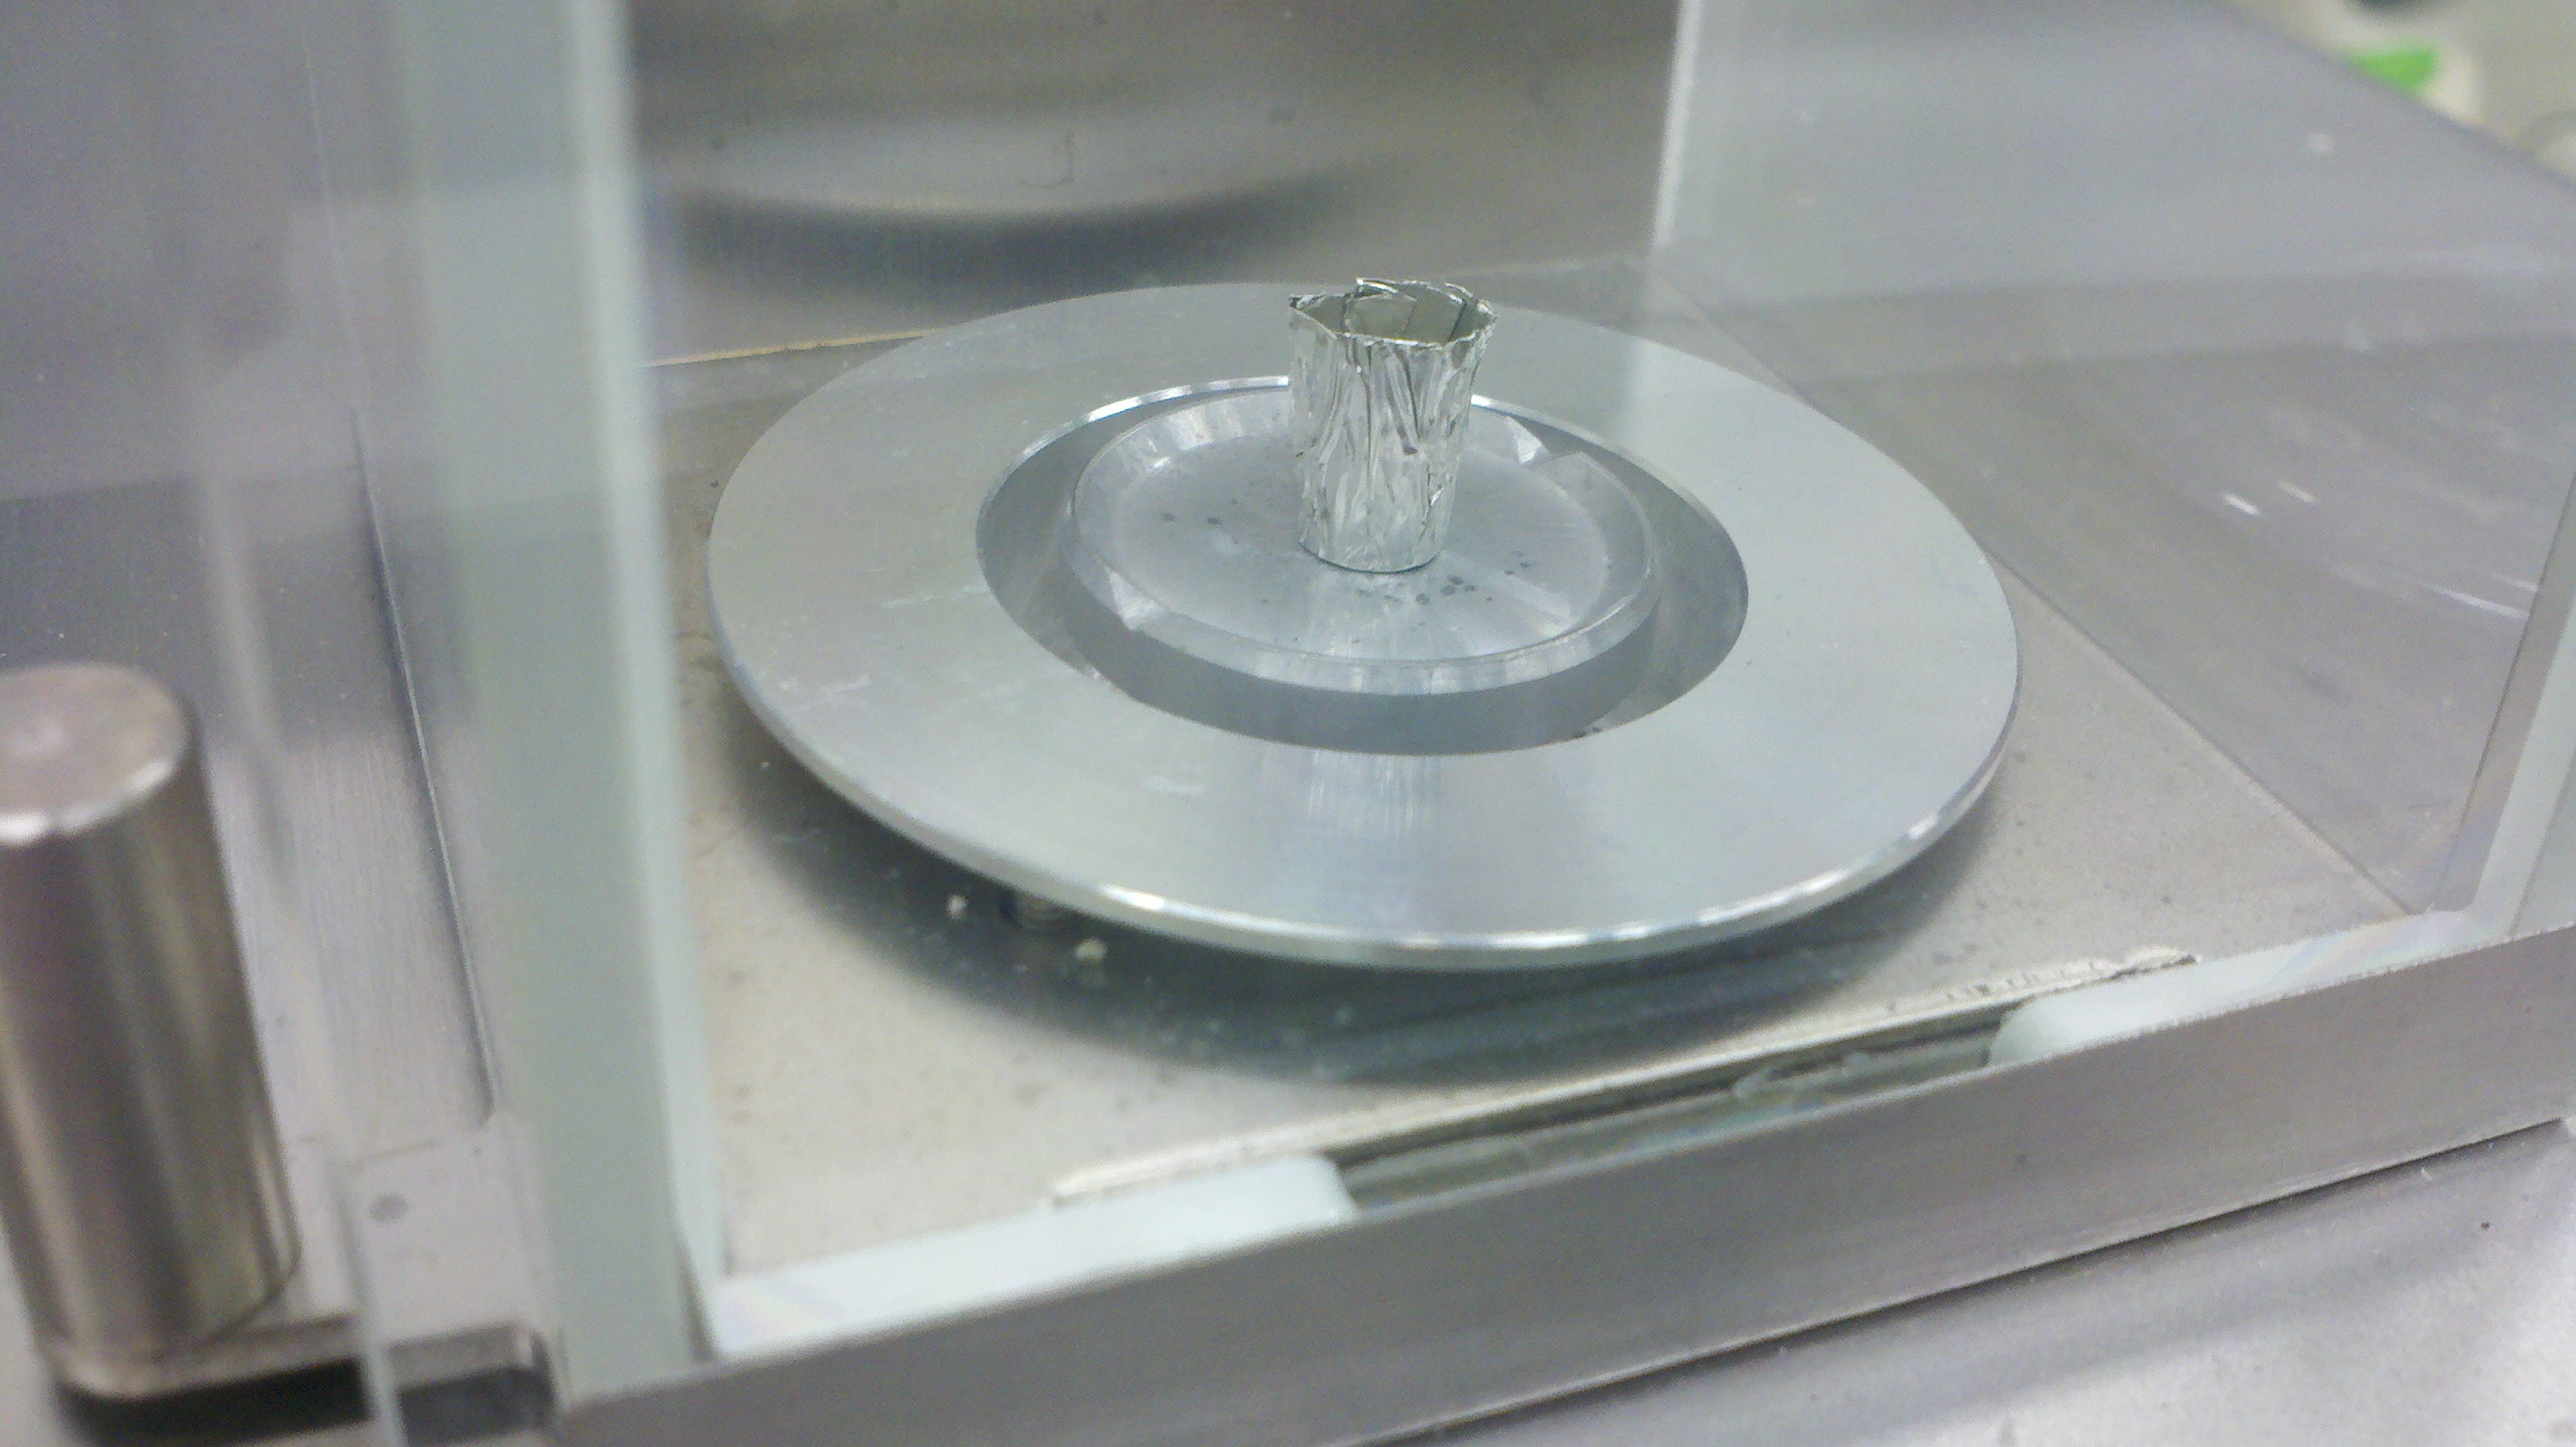
Step two. Weigh the capsule. You can’t know how much material you’ve weighed unless you know how much the capsule weighs first.

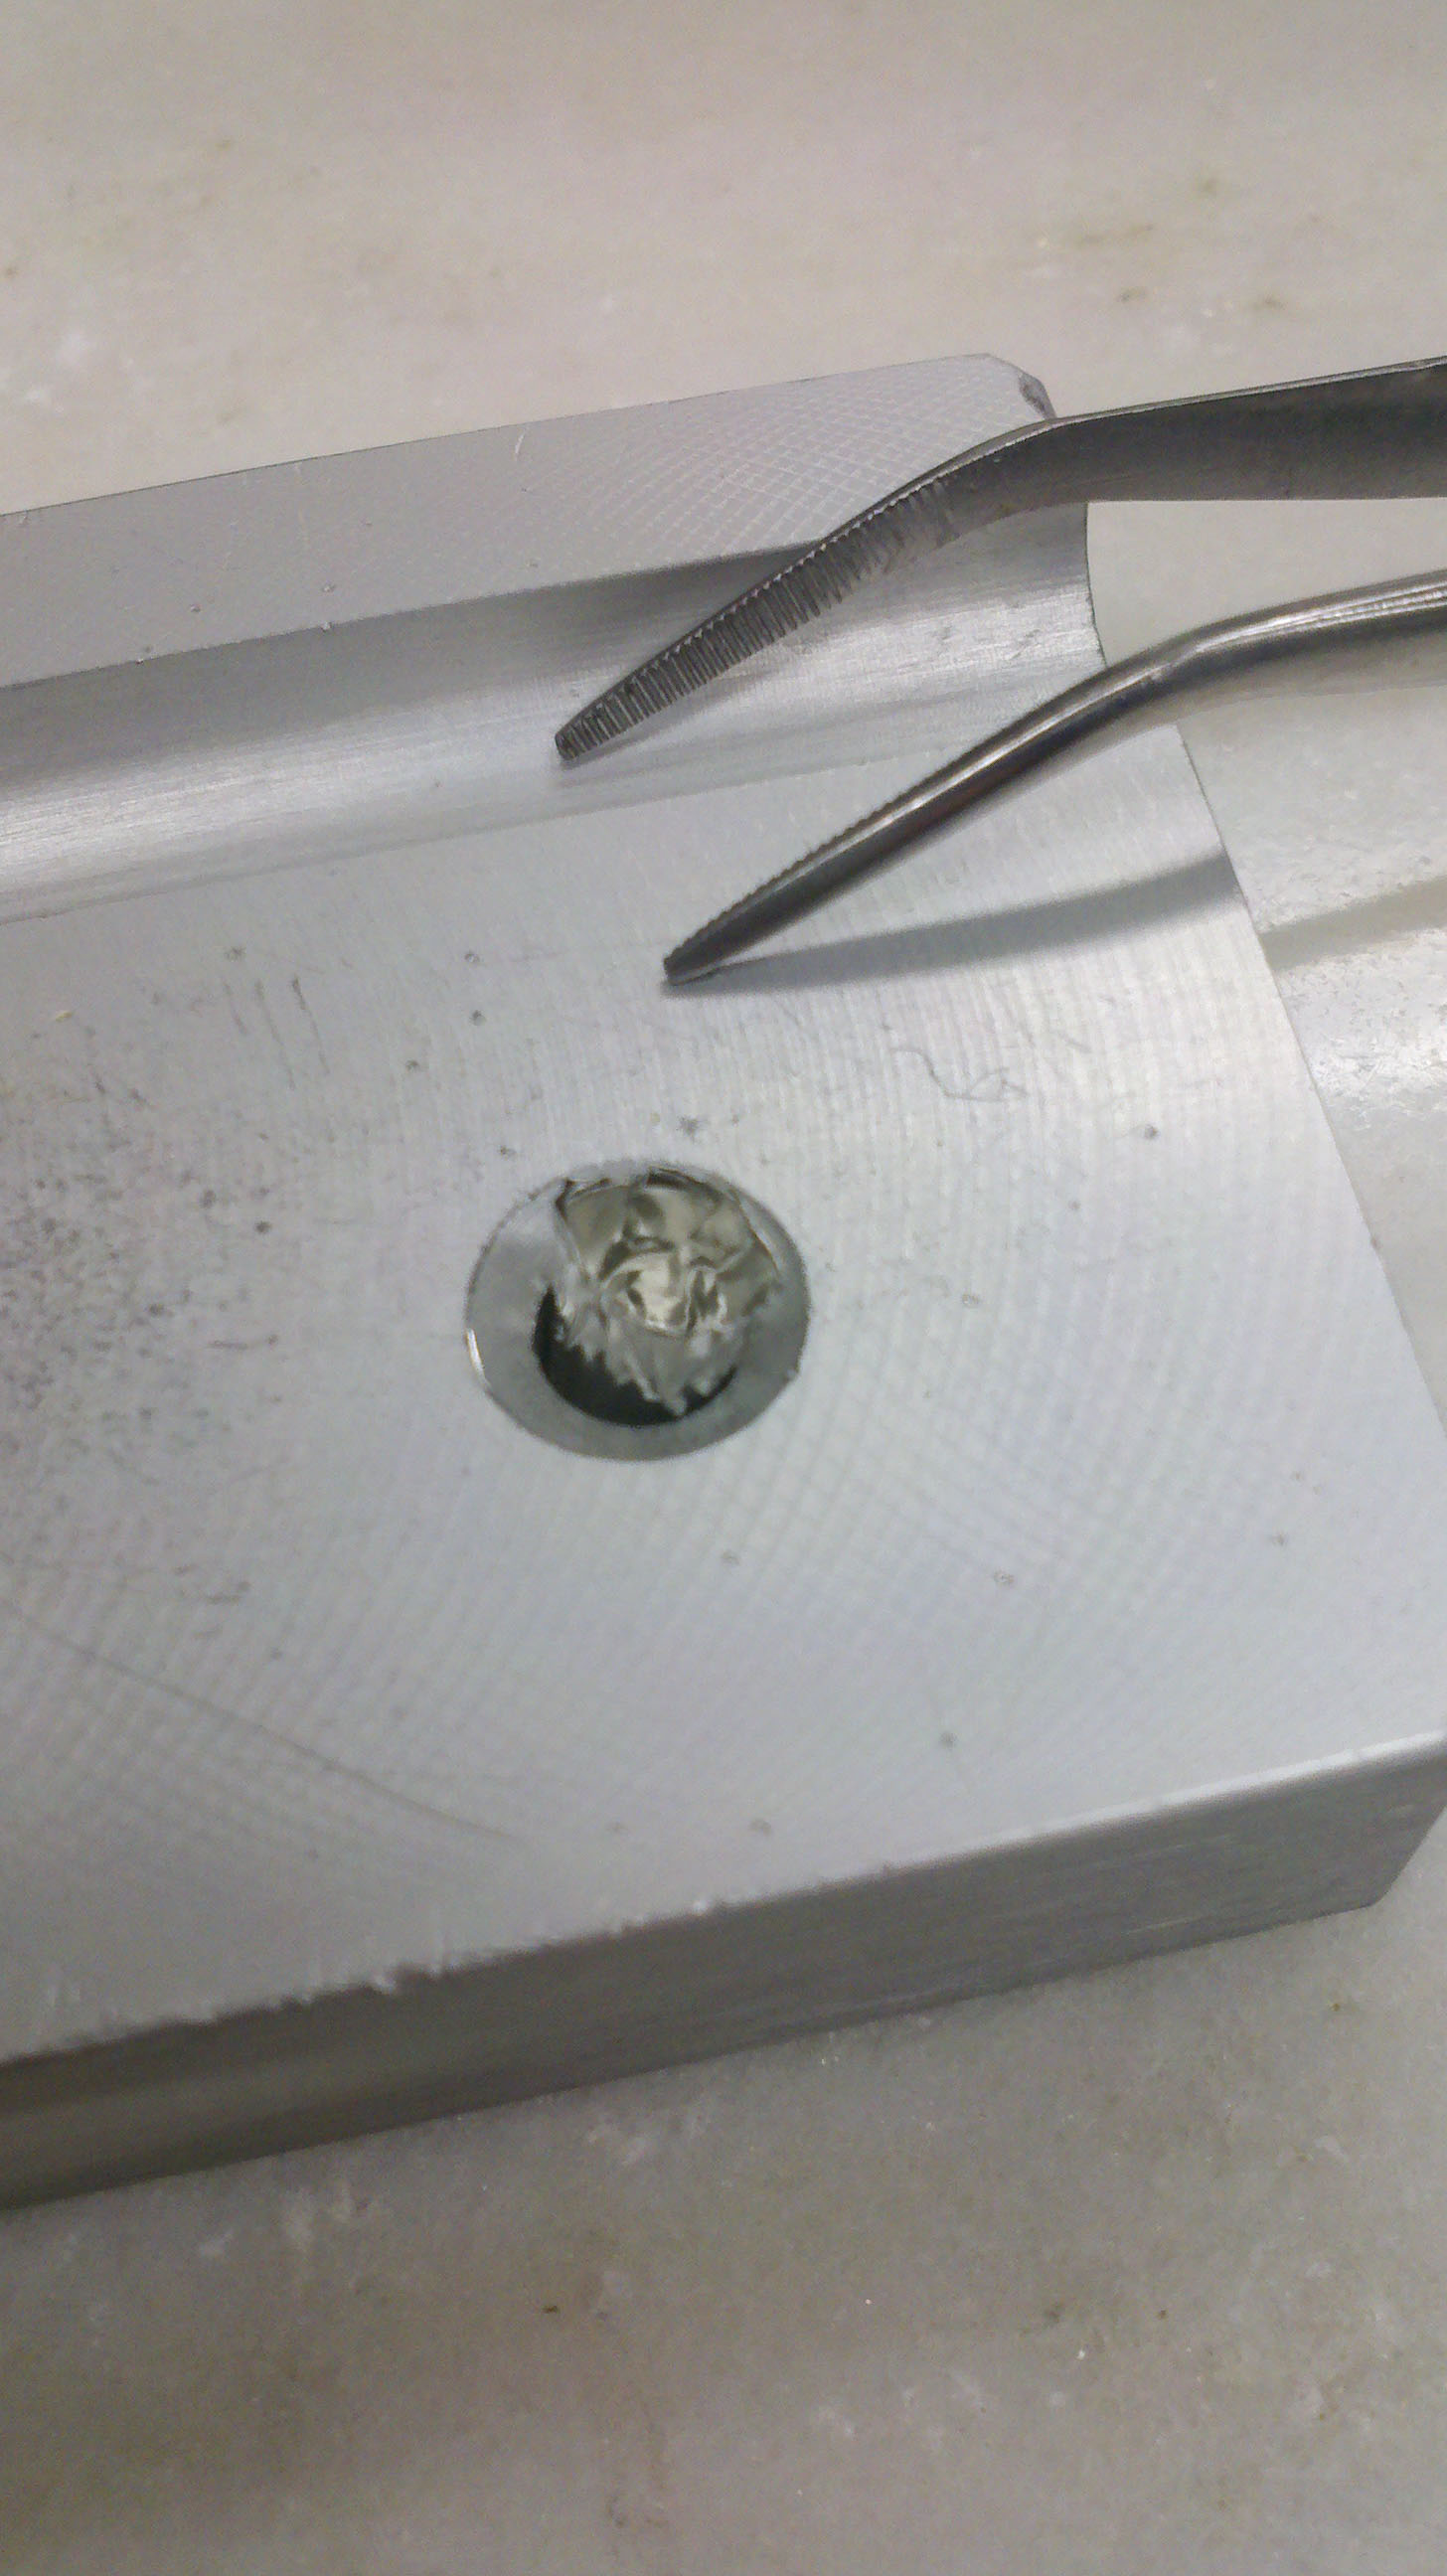
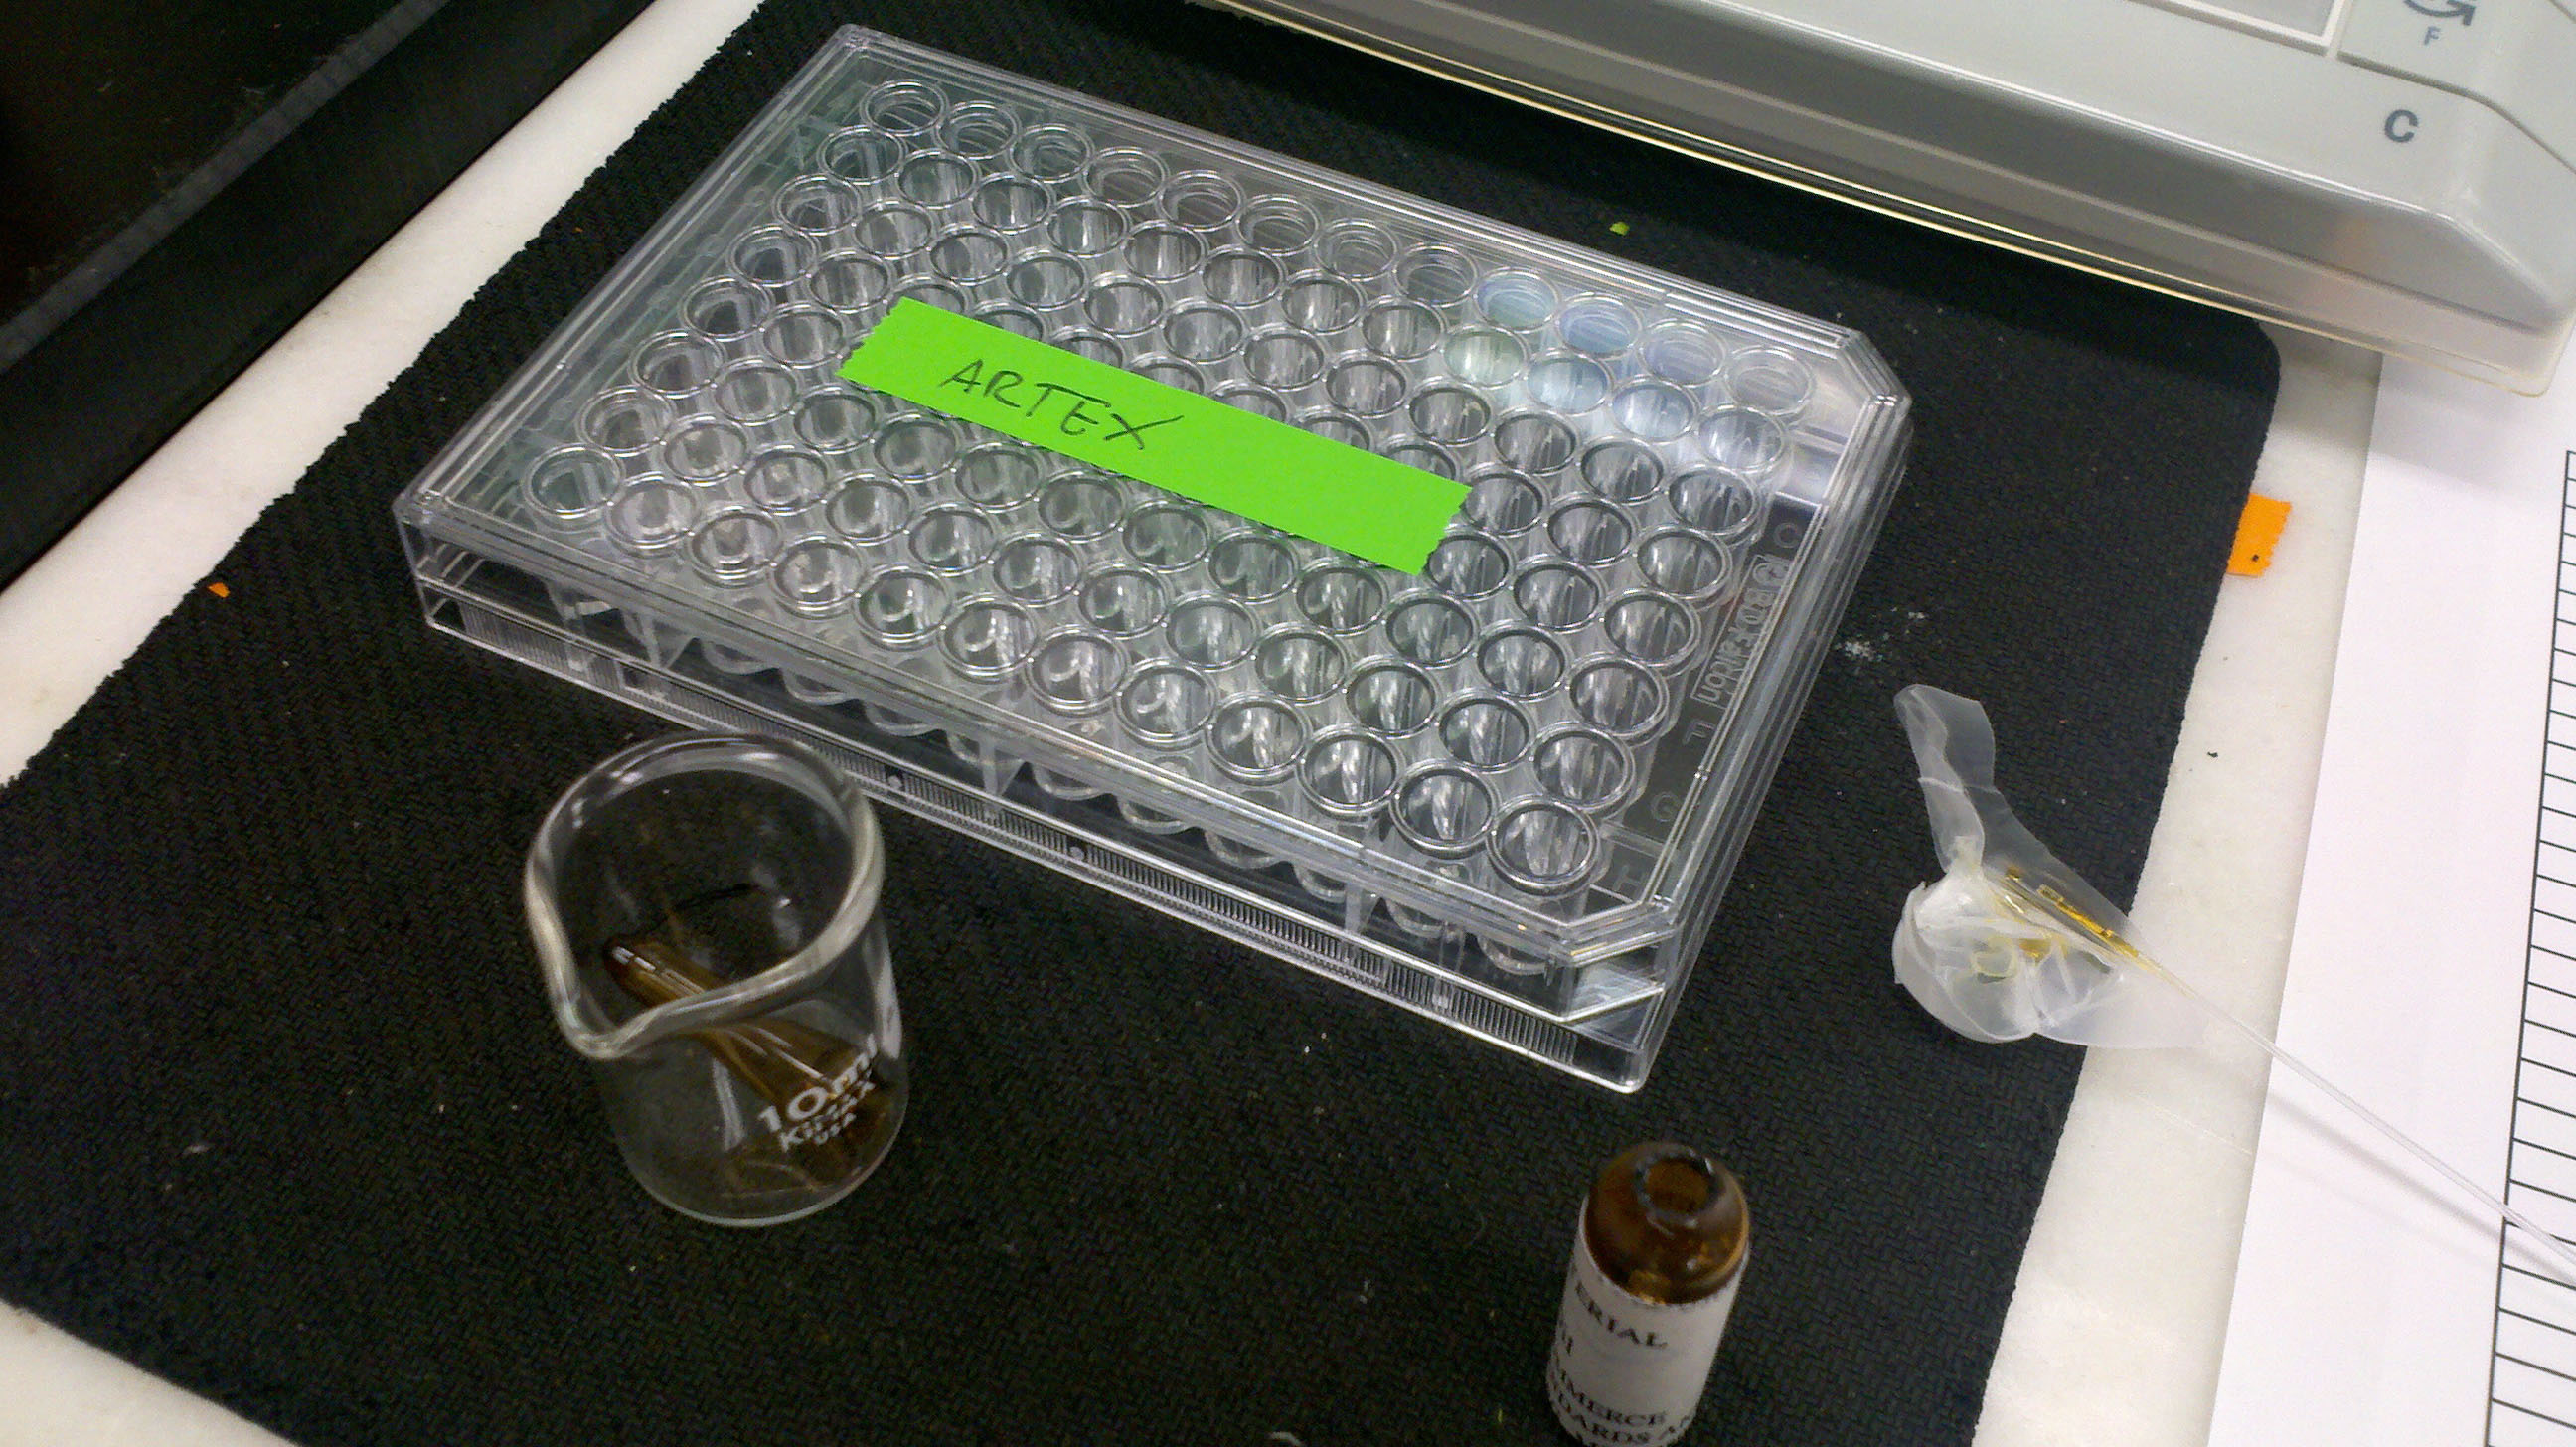
Step three. Add sample. It doesn’t need much. Here, I’m measuring oil. Most of the time, it’s a powdered rock sample.

Step four. Weigh it again to see how much sample you’ve added.
From here, it’s all rolling.
Please realize that I would ordinarily use two pairs of tweezers, but since I’m taking the photos with one hand, I only have one set of tweezers in use.
Step five. Close top of capsule

Step six. Roll it into a rod.
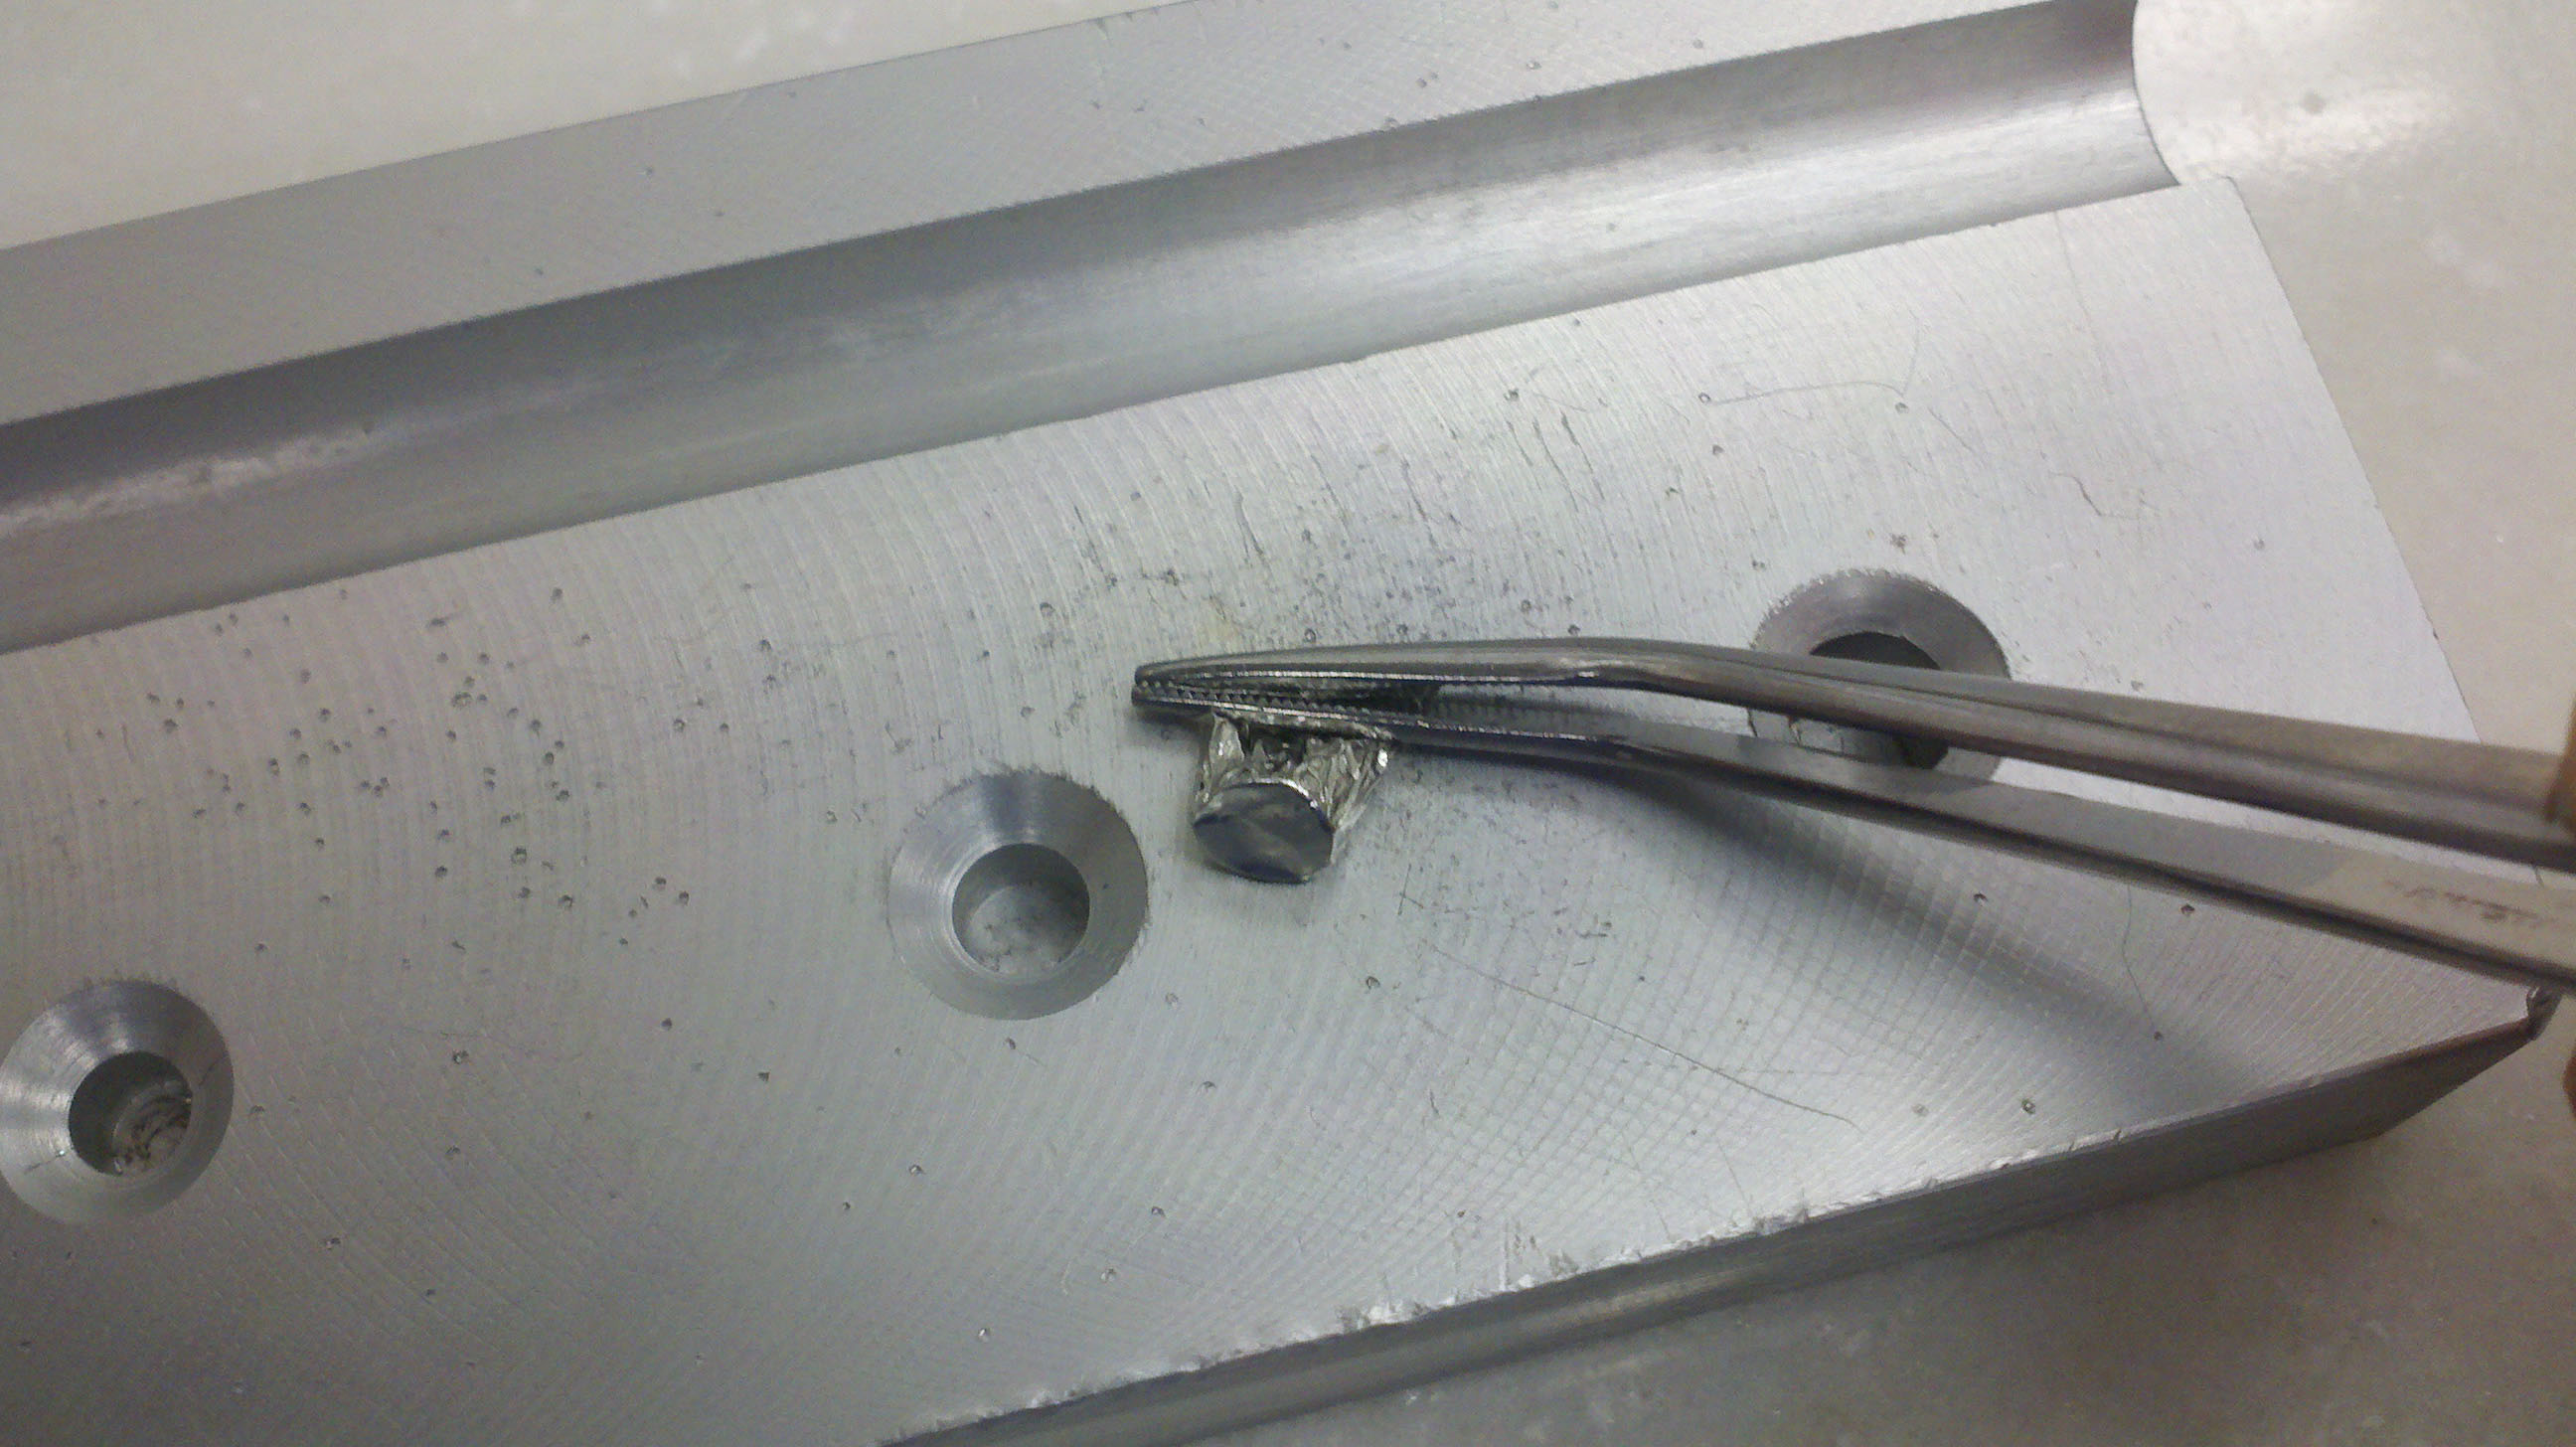
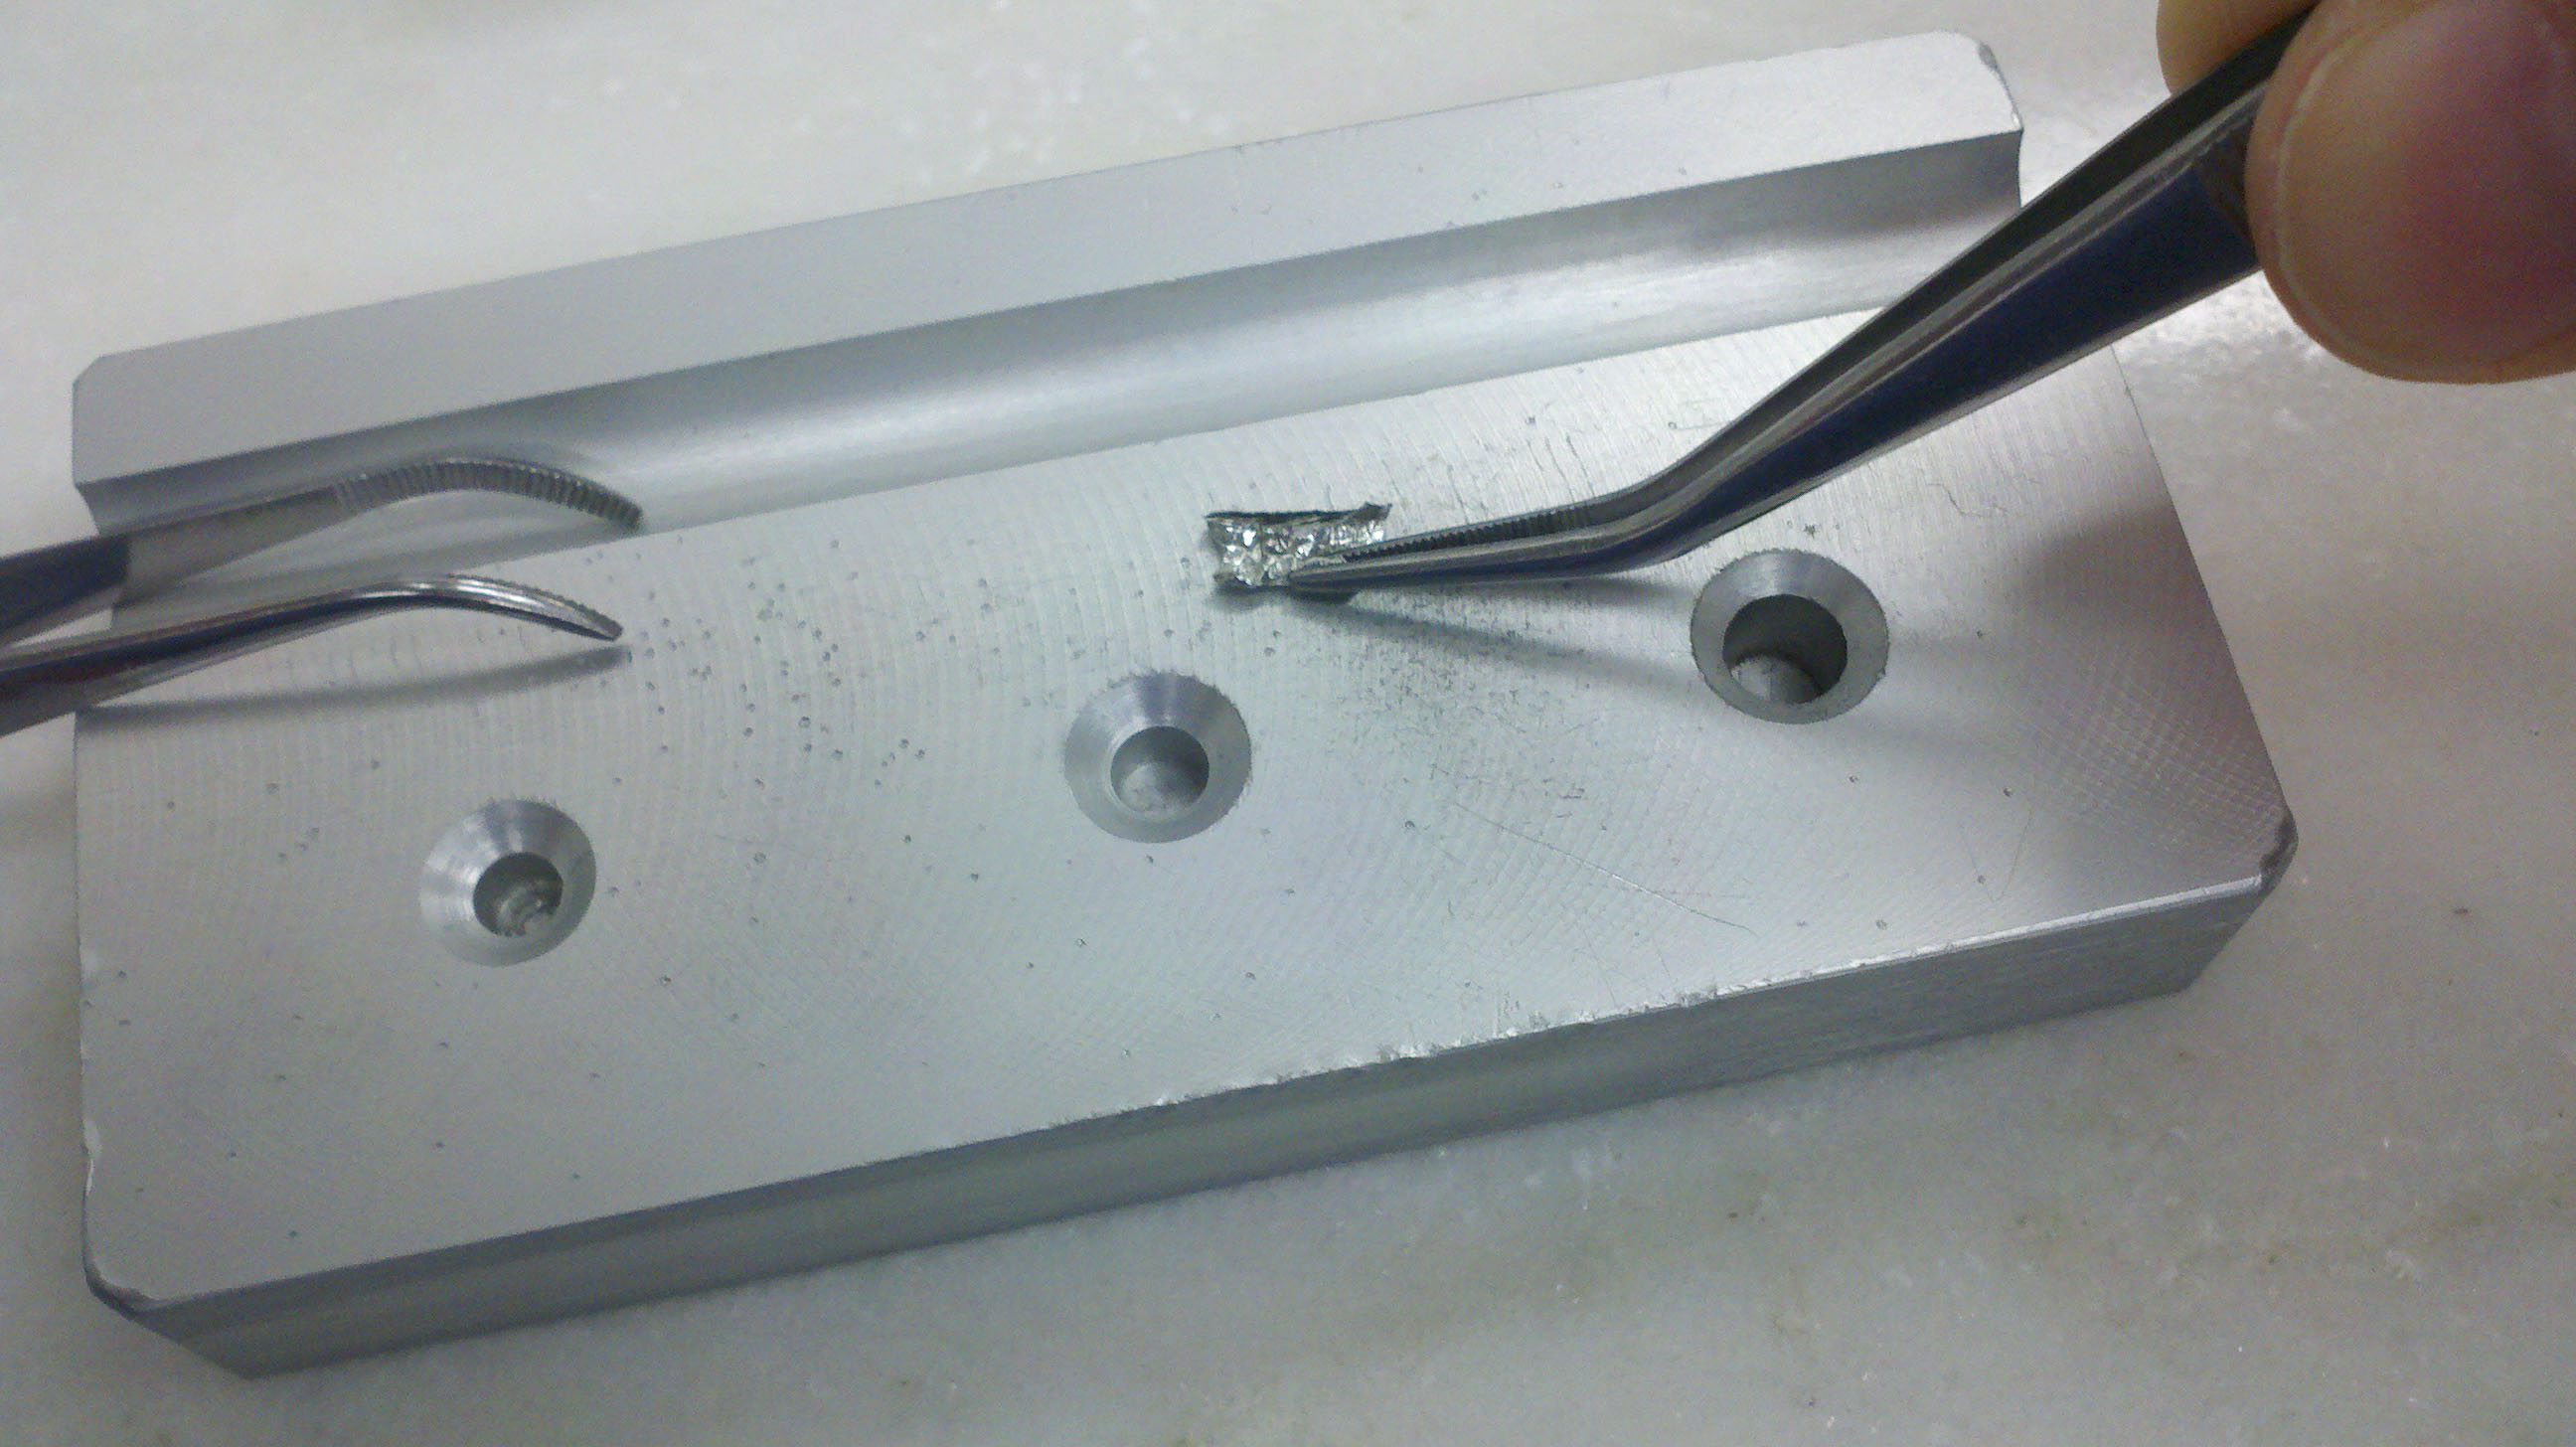

Step seven. Bend it into an ‘S’ or ‘Z’ shape.
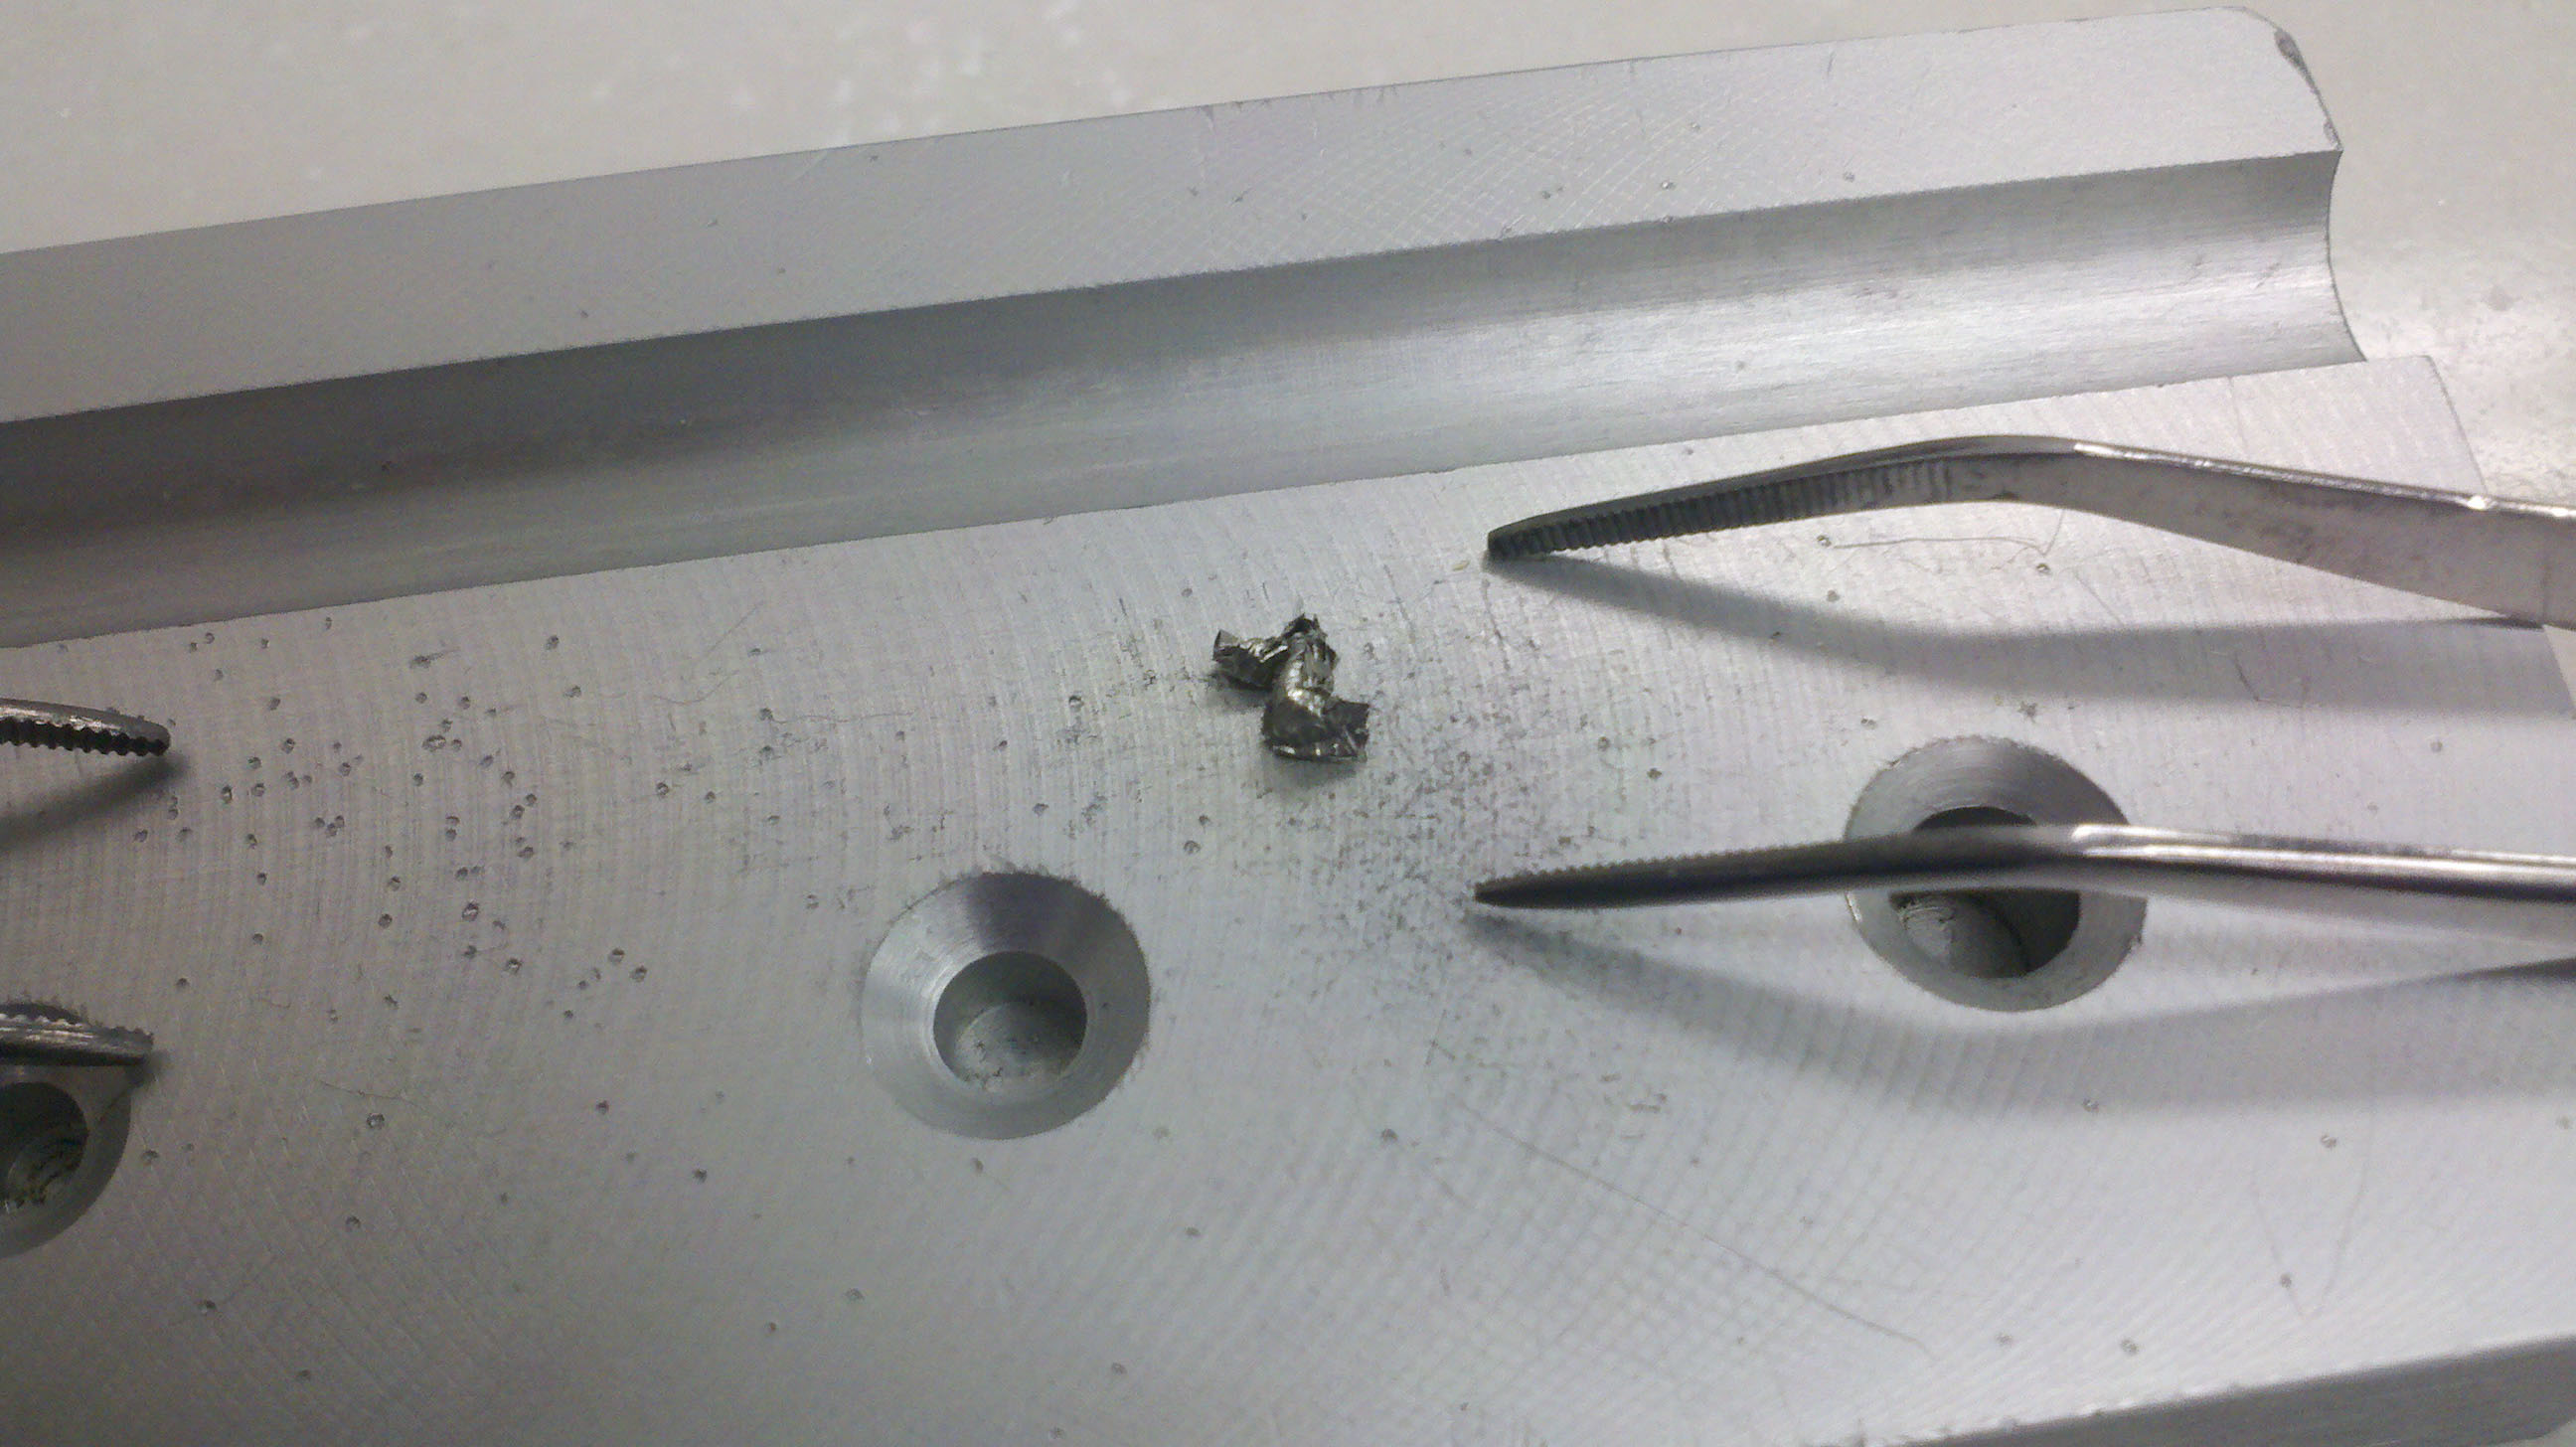
Step eight. Crush it until you have a cube. And hope it doesn’t leak.


Step nine. Put it in the tray with the other cubes. It’s ready for analysis.

And you keep doing this over and over until you’ve made about 46 cubes. Sounds fun, eh? This is why I’m glad I have employees.
